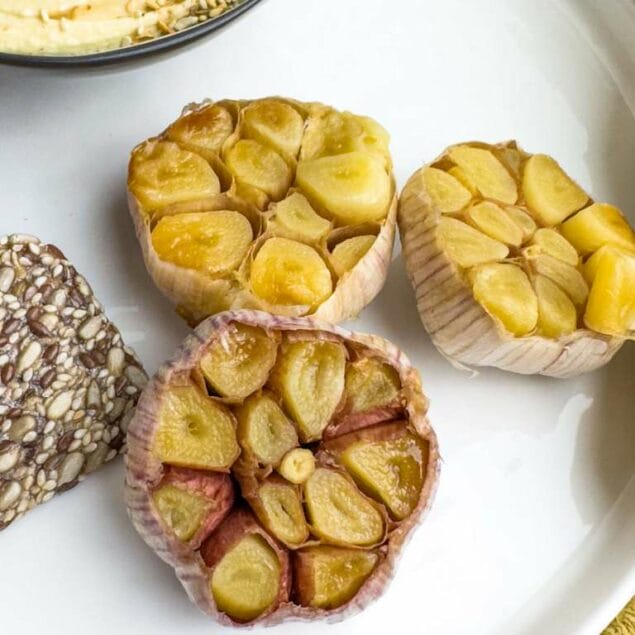
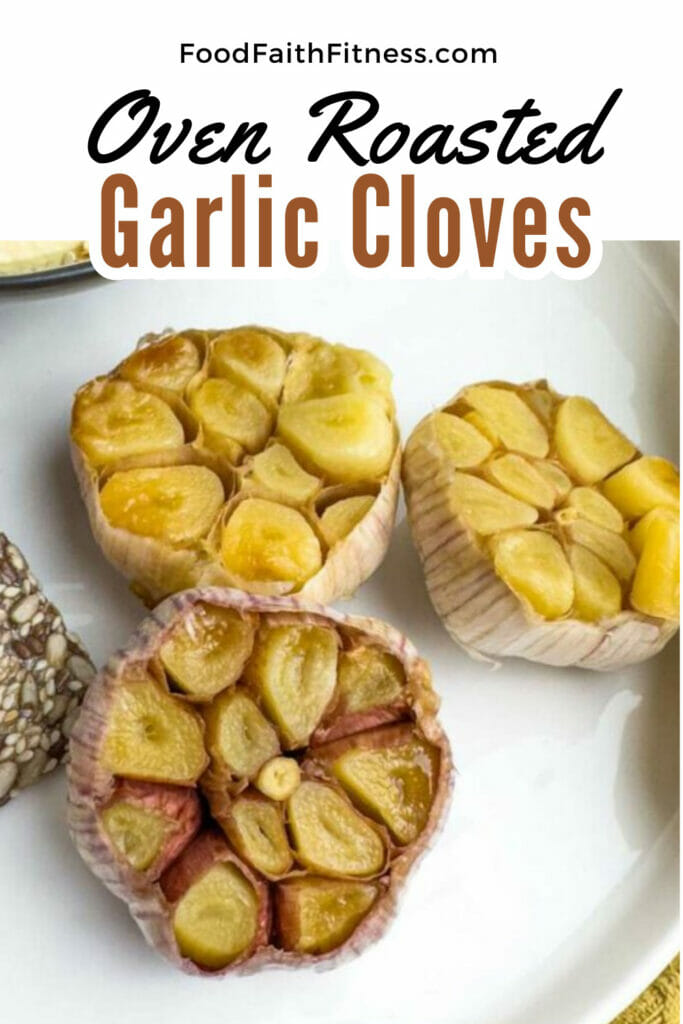
Make a perfect Roasted Garlic perfectly every time with this foolproof recipe. This versatile ingredient with delightful caramelized taste can transform any meal!
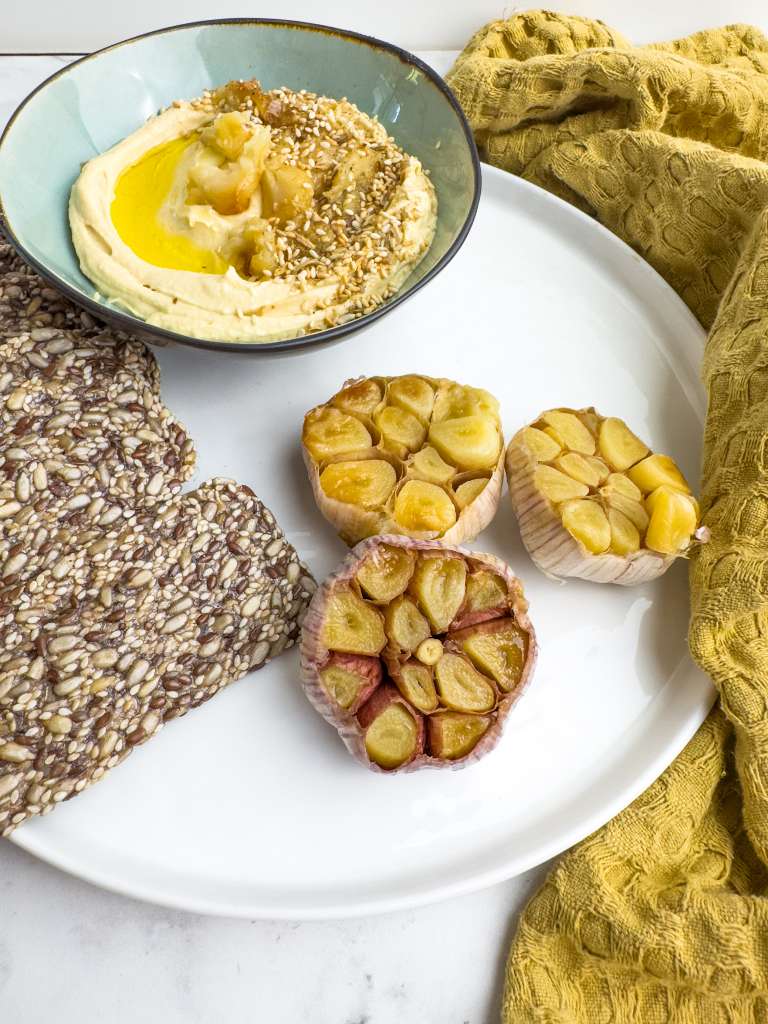
Table of Contents
I add garlic to everything. It’s almost instinctual that, when I turn on the stove, into the pan goes the minced garlic. I don’t even think about it anymore. Then I started thinking, Maybe I should think about it more. Do you know what I mean?
Given how much I enjoy garlic, I realized I should try to do more with it. That’s how this “recipe” came to be. I mean, it’s not really much of a recipe but more a “how to”. And once you learn “how to” roast garlic, you’ll realize just how versatile this vegetable can be. It will go from something you start off with in your pan to a side that will transform all your favorite dishes.
Why You Will Love This Recipe
- Roasted garlic is a completely different experience from raw garlic, it is sweet and aromatic and the texture is oozy soft.
- Roasted garlic is a great item to have on hand because, when you use it instead of raw garlic it complements sauces, soups, and pasta so well. It is also awesome spread onto bread or added to a dip to really add that extra amazing factor.
- This is a really easy recipe to make with so many great rewards.
Is Oven-Roasted Garlic Healthy?
- Garlic is a really strong immune booster and having it roasted means you can eat a lot more of it than you could raw.
- It is very nutrient dense with hardly any calories.
- Garlic is rich in antioxidants, has anti-inflammatory properties, and aids in digestion. Making it a regular part of your diet will have a remarkable impact on your overall health.
- It is roasted in olive oil, which contains healthy fats (monounsaturated fats), which lower the risk of heart disease and reduce inflammation.
INGREDIENTS
Just two. Nice and simple, huh! And, as you probably already have both of them in your kitchen, you can attempt this recipe tonight!
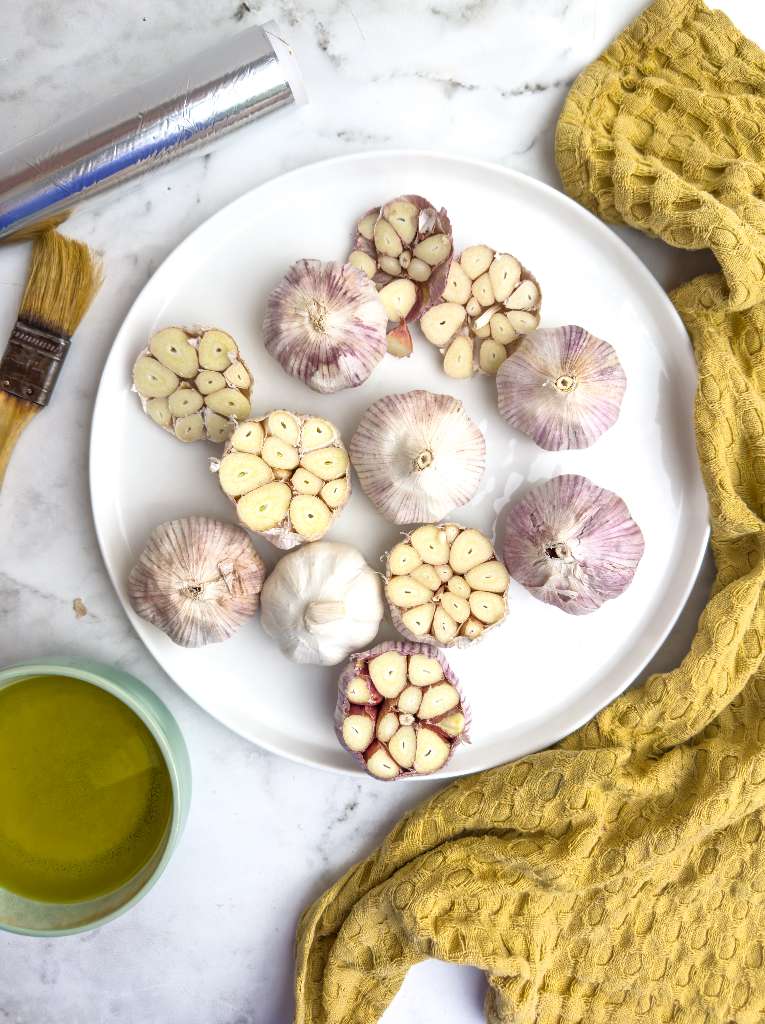
- 3 heads of garlic
- 1 tbsp olive oil
INSTRUCTIONS
Prep
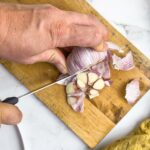
Preheat the oven to 350°F. Use a sharp knife to cut the tops off the garlic heads to expose all the cloves. Place the garlic in tin foil and, using a brush, completely coat the garlic with the olive oil.
Cook
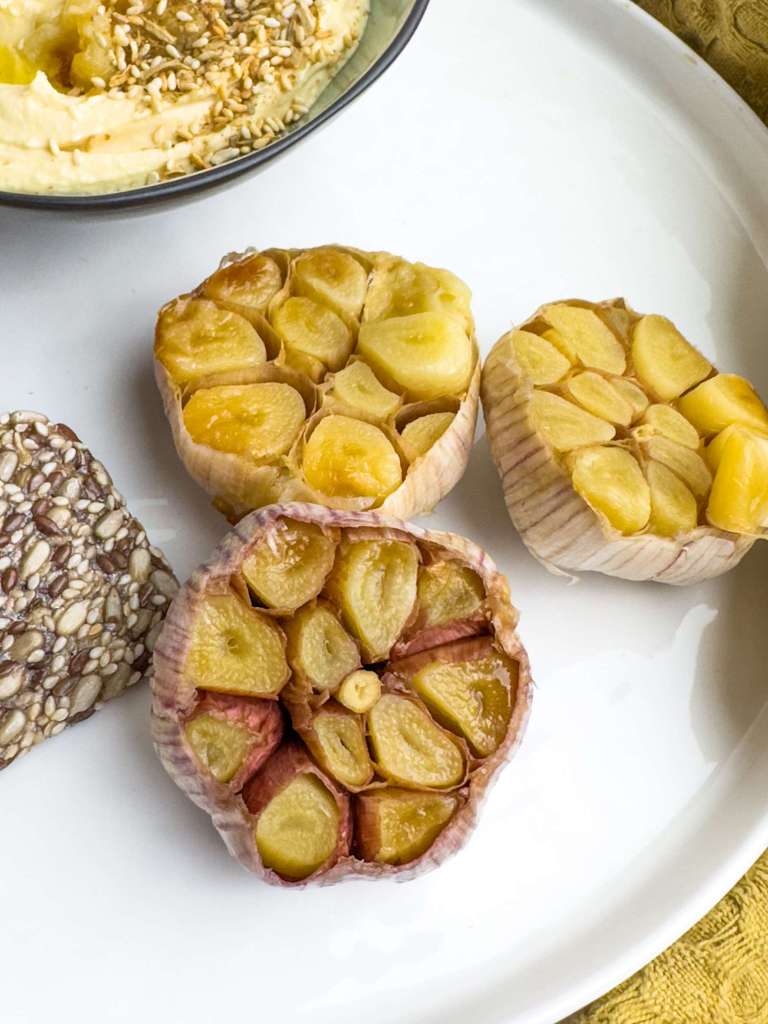
Wrap them tight to make a little package and place them in the middle of the oven to roast for 30 – 40 minutes or until you can feel that the garlic is soft all the way through.
Variations
- If you prefer, you can cut the garlic heads in half and roast both sides of the garlic.
- Instead of wrapping the garlic in foil you can pop it into a cast-iron skillet, cover the pan with foil, and roast in there.
- You can use the same recipe for any number of garlic heads and roast several at the same time.
FAQs
The easiest way to remove the garlic is to just squeeze it out like a paste. However, if you want to keep the cloves whole, just use a knife. Stick it in the side of the clove and twist the knife; the whole clove should come loose. Assuming you have roasted it long enough, the paper should have come away from the side of the garlic.
Yes, you can. I would recommend cutting down the time to 20-25 minutes.
You can use parchment paper. You can make a parcel with the paper and tie it together with twine to make sure it doesn’t leak.
How to store Roasted Garlic
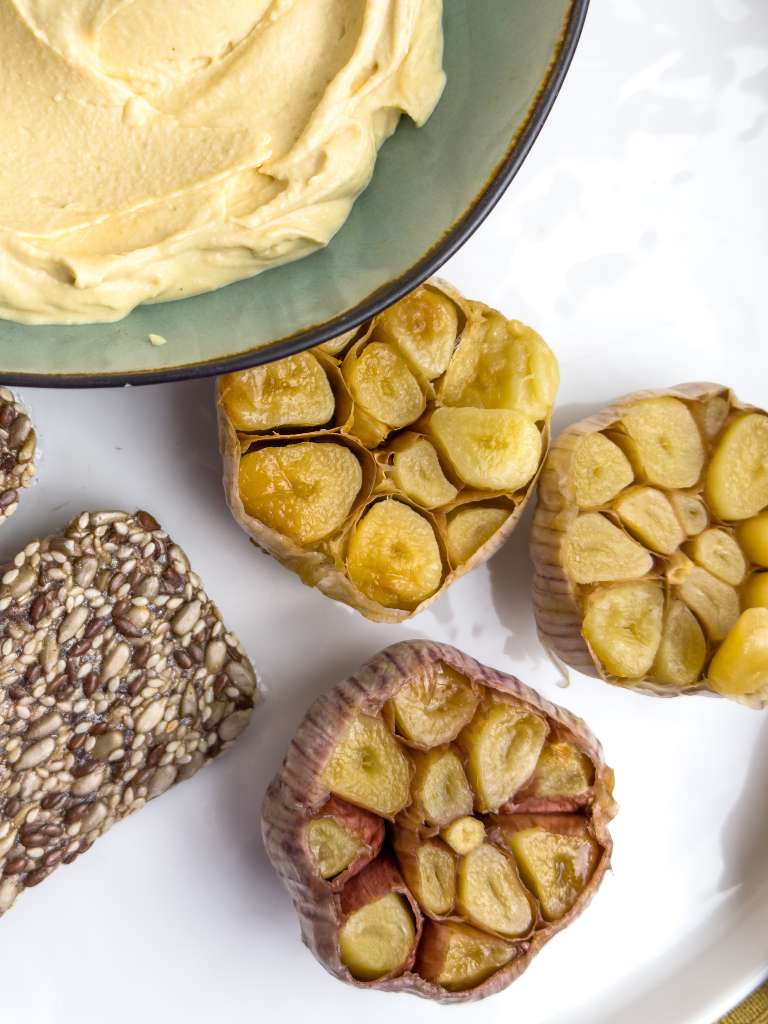
Let the garlic cool completely. Place the garlic in an airtight container to prevent any moisture or odors getting inside. The garlic should keep for up to 2 weeks in the fridge. You can also freeze the garlic. Wrap the garlic individually in plastic or aluminum and then place in a freezer-safe bag. They should last for up to 3 months.
Ingredients
- 3 heads of garlic
- 1 tbsp olive oil
Instructions
- Heat the oven to 350°F
- Use a sharp knife to cut the tops off the garlic heads to expose all the cloves.

- Place the garlic in tin foil and, using a brush, completely coat the garlic with the olive oil.

- Wrap them tight to make a little package and place them in the middle of the oven to roast for 30 – 40 minutes or until you can feel the garlic is completely soft .

Tips & Notes:
Nutrition Info:
Recipes written and produced on Food Faith Fitness are for informational purposes only.


Leave a Comment